
During my routine Daily Inspection (DI) on our C42C, I noticed a slight movement of the spinner. It was very slight but enough to warrant investigation. Upon closer inspection, the movement was occurring between the spinner back plate and the hub.

Not having worked on an E-Prop before, I removed the spinner and attempted to tighten the screws to the required torque. However, two screws didn’t tighten properly, and I feared their captive nuts might have been stripped. I contacted E-Prop support, and I must say, they were very responsive. They promptly sent a service letter EP-SL-002 that predated my C42C’s manufacture date. The service letter detailed the process of removing the prop, drilling out some 4mm holes to 5mm, and fitting higher-quality M5 screws.
The old screws can easily be identified as they are M4 Mushroom head screws while the new ones are M5 Cap head screws, see picture.

My fear of blind nuts was unfounded as the propeller used nylock nuts within the hub. E-Prop sent me a service pack free of charge. However, this process raised another concern: would I need to reset the prop pitch? Another quick email to E-Prop clarified which screws to remove and which to avoid touching to maintain the propeller pitch.
The next issue was not having a torque wrench that went down to 5Nm, but Amazon came to the rescue here. Not having drilled carbon fibre before, I sought the advice of an expert, who surprisingly advised against using a new drill bit. Instead, they suggested using a worn bit to avoid splintering the carbon fibre.

With everything I needed, it was time to carry out the required work. It took just over an hour, though I was taking my time and could have done it faster.
First, I ensured the spinner was marked so it would go back on correctly. I removed the spinner screws and the spinner itself, which was straightforward. Setting the spinner aside, I removed the outer retaining prop screws, working my way around and undoing opposite pairs at a time, leaving the top centre one for last. Once all were off, I was amazed at how light the prop was. I set it aside and commenced drilling the holes and replacing the nuts without washers, as per the service letter.

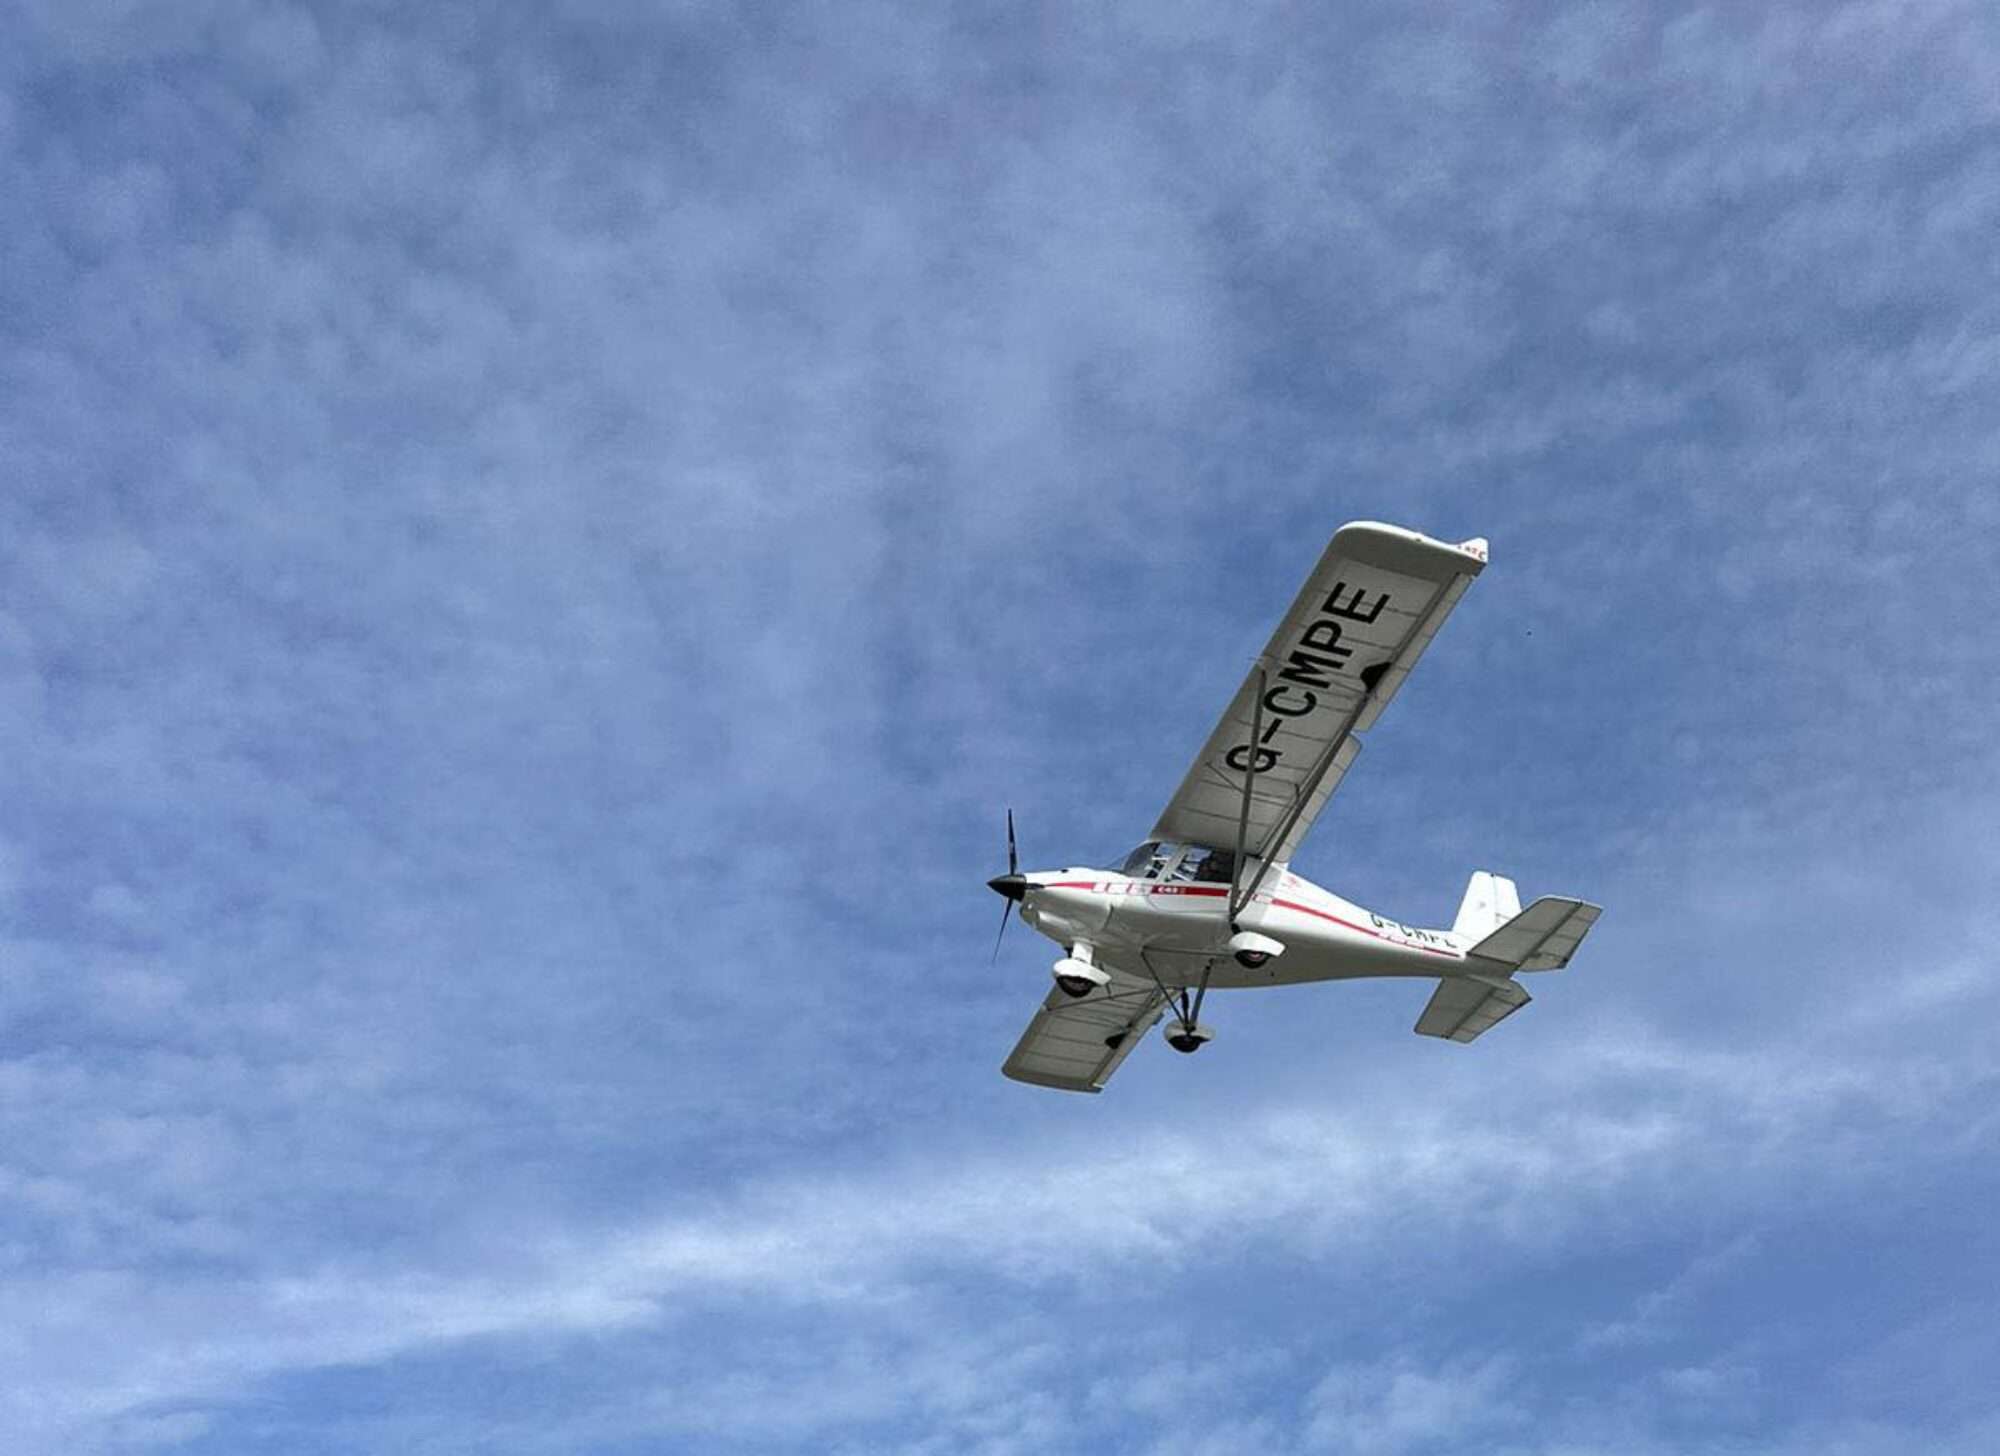
The process was simple, and reassembly was a straightforward reversal. After completing the work, I logged it in the aircraft’s logbook and took the aircraft for a test flight. Everything was fine, and she is now back in service.

This experience was a valuable reminder of the importance of thorough inspections and the benefits of responsive support from manufacturers.