
These are my personal revision notes that I used when I took the navigation exam for NPPL(M), they may therefore not be 100% in either accuracy or breadth, please always defer to you instructor or their recommended text.

This was the most difficult exam of the 5 for me; I think it was due to taking it before I had done any navigation, so I strongly recommend you take this exam after having done some real life navigation. The exam itself is around 50% practical including, finding places on a map given their Longitude and latitude, drawing a route on a map and calculating the time, distance and heading given a wind speed and direction. Some questions relate to map symbols; these don’t need to be remembered as there is a key on the map.
Learn and practice your triangle of velocities!
Notes:
 True North = geographic North.
Magnetic North = Where a compass points Hdg(C).
Difference between true and magnetic north known as Variation.
Lines on map joining place of equal variation are called Isogonals.
Magnetic fields in an aircraft effects the compass this known as Deviation.
All bearings are given relative to true north.
![]() True North
True North
![]() Magnetic North
Magnetic North
![]() Compass North
Compass North
Triangle of velocities
You need to know how to draw the triangle of velocities, you will not pass this exam without knowing them!
Tip, you don’t need to use your scale rule to draw them, I found it easier to use a standard rule and mm scale. So long as you use the same scale for all the lines it will still work.
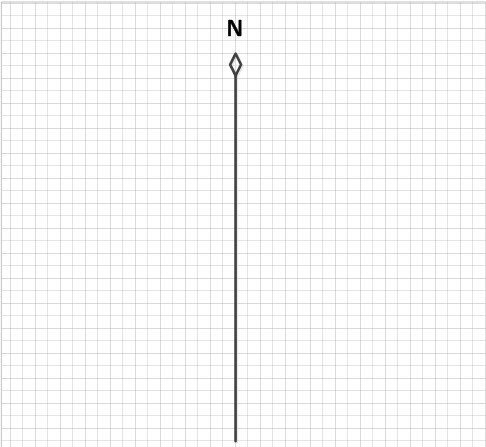
First Draw a vertical line to represent North with a diamond on the top to show it as a true north.

Next plot the course you want to fly, for this draw a straight line from A to B on a map and read off the heading using a protractor. For Chatteris to Boston we want a heading or Trk(T) of 349° so next we draw this line on.

Next go to the Met Office and get the spot wind for your altitude, we will use 260/15 (you are given this in the exam) so we now need to draw this on.
The wind is drawn across the north line e.g. above I marked off 260° on the left of the north and drew through N and out far enough to be able to mark off the wind speed on the wind line. Add 3 arrows to show it’s the wind line. Take a ruler and mark the wind speed on the line from the north line.
 Next draw a line from 15mm along the wind line the length of the speed you will be flying and make the line intersect the Trk(T) line at that point. So below I have drawn from the 15mm mark a line that is 70mm (we fly at 70knts) where it joins the Trk(T) B – C below.
Click the image to enlarge it!