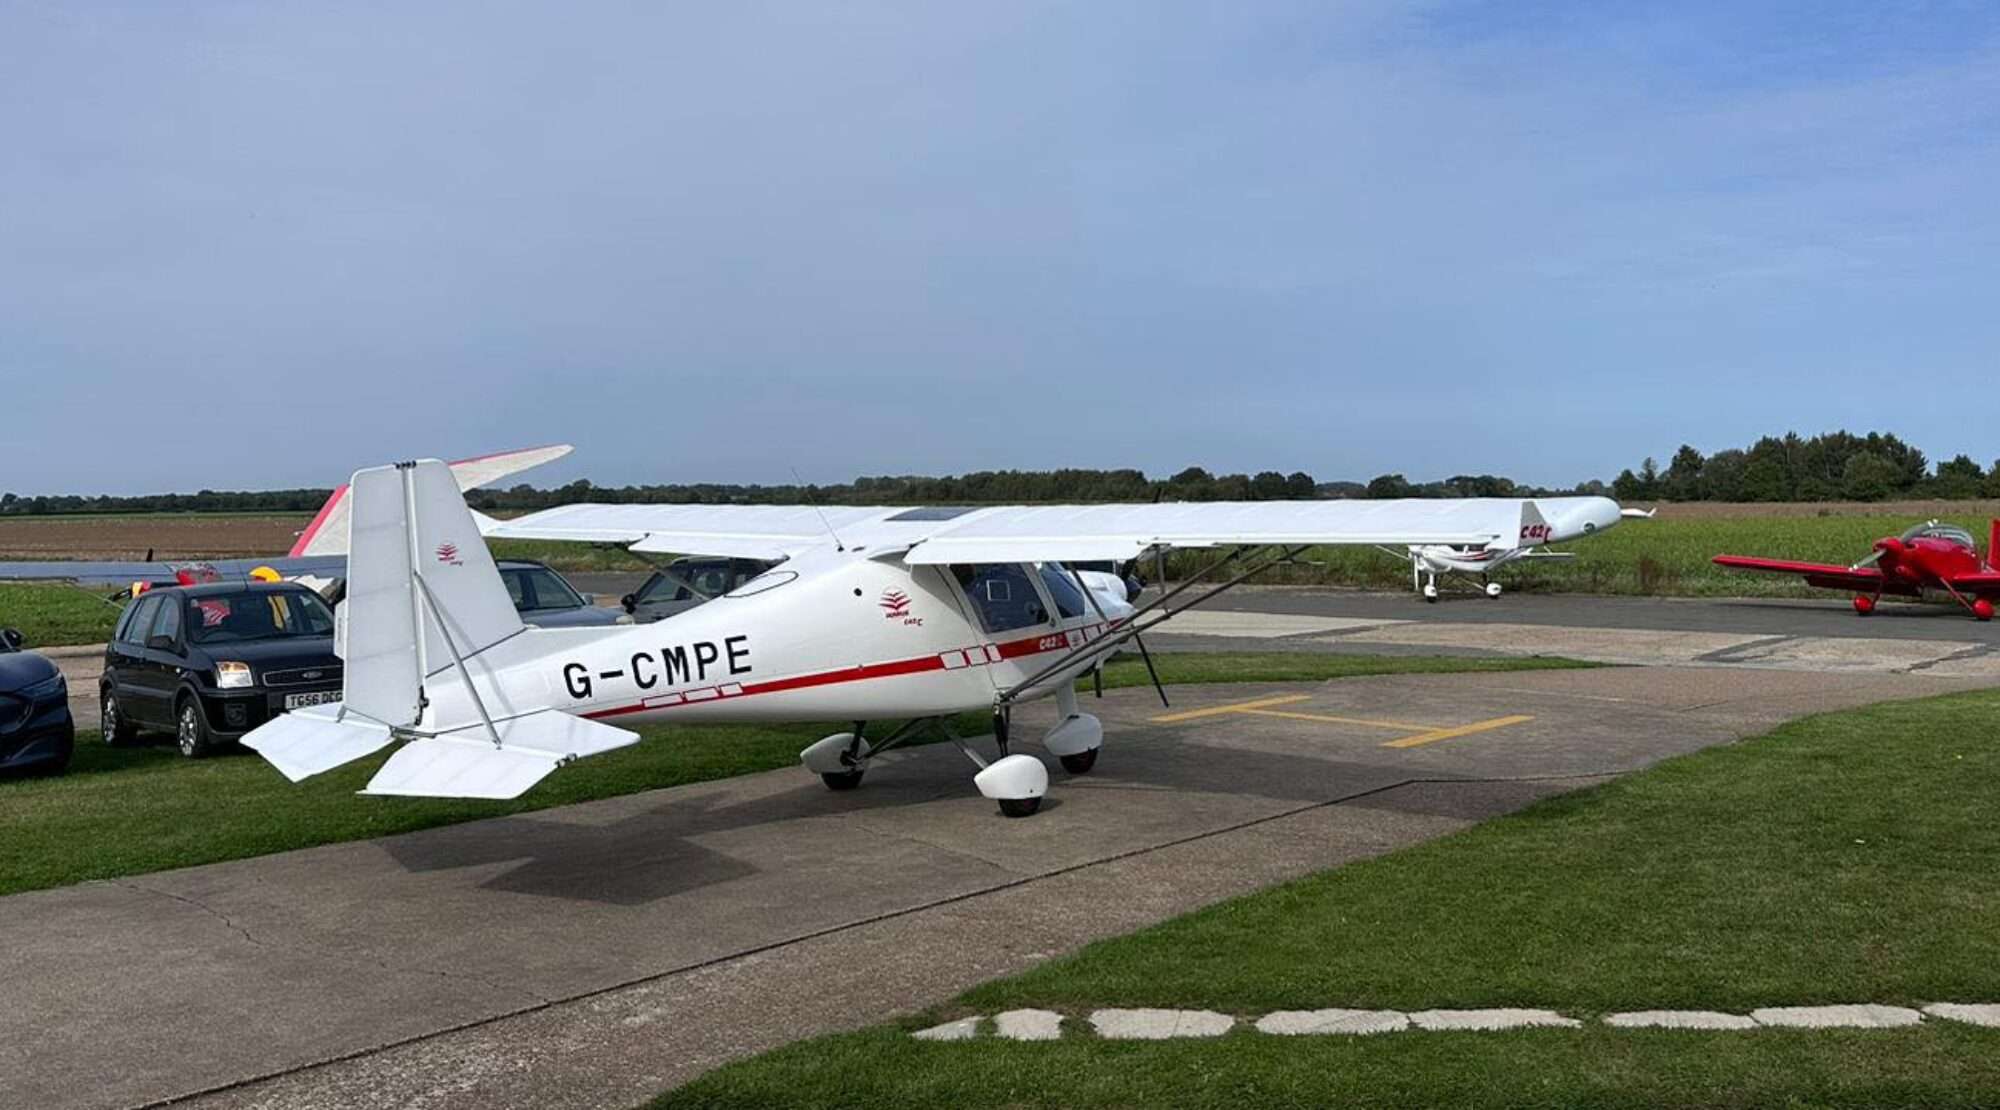


This is a reflection of how I went about changing the propeller, it is not meant as a “how to” and no liability will be taken for any issue others may have by following this post!
We made the decision to change the original Neuform Propeller after noticing some hairline cracks across the back of the prop. This together with an accumulation of small chips meant it was highly unlikely to pass a factory inspection, thus the prudent thing to do was to change the prop.
Neuform Props are very good, but expensive props, so we chose to replace them with a Kiev which at the time of writing was around £1,000 less.
The first stage is to remove the top cowling, we also later removed the bottom one too, to allow us to have a good look around at the same time. This proved to be a prudent thing to do as we found our radiator bracket was broken too!
Next, remove the spinner, a tip here which some may not know, is to hold the allen key bolt and undo the nyloc nut with the spanner, else you may start to round the allen key head.
NB: I found out the hard way, that you should mark the back of the spinner plate and the flange to ensure the spinner goes back on in the correct position!


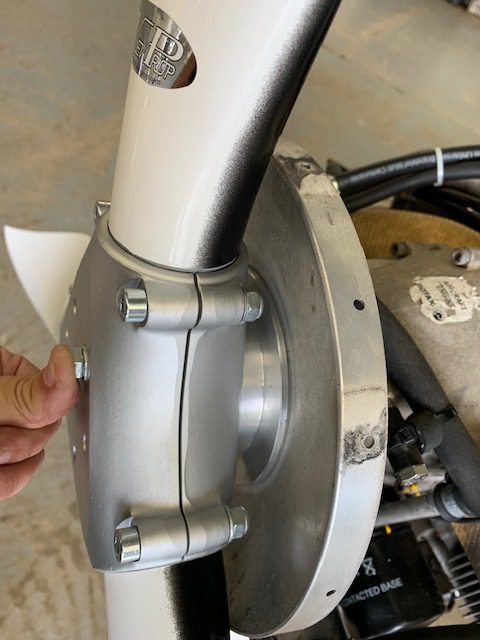
Now we need to remove the old prop by undoing the six M8 retaining bolts. These are the long ones which screw through into the flange.
After these are removed the propeller will come off still clamped in the hub.
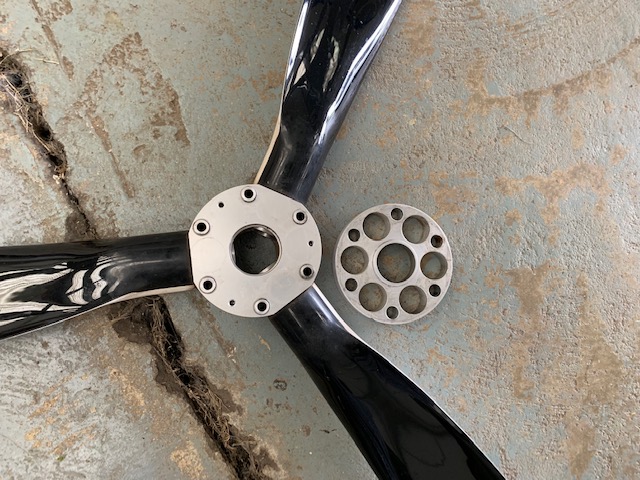
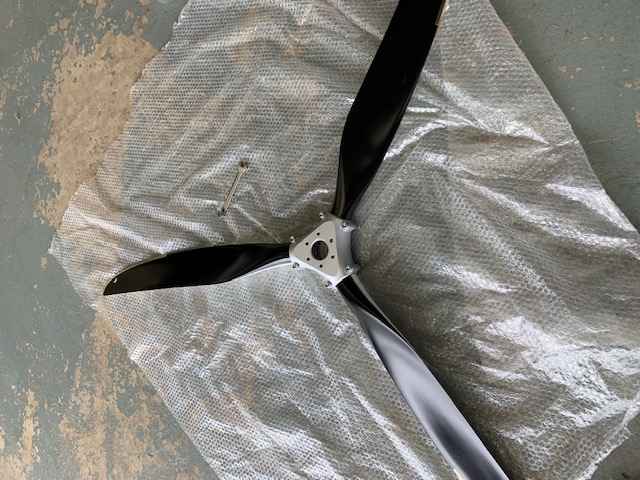
The prop with its adaptor plate is now removed.

Removing the lugs
Now for the “fun” part, removing the lugs from the flange.
The lugs are used by both Neuform and Warp drive props, but not by Kiev props.
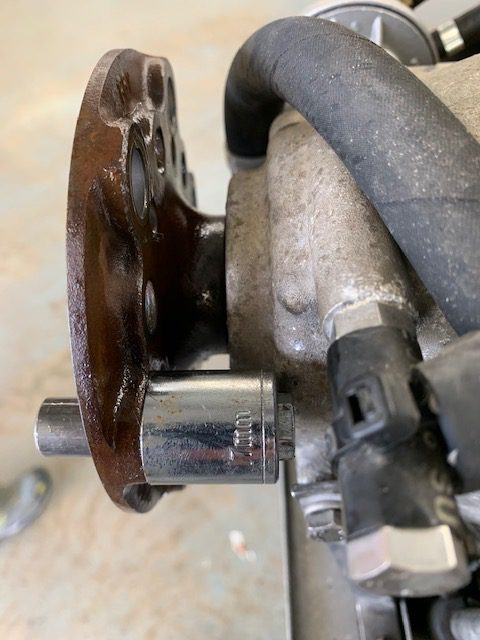
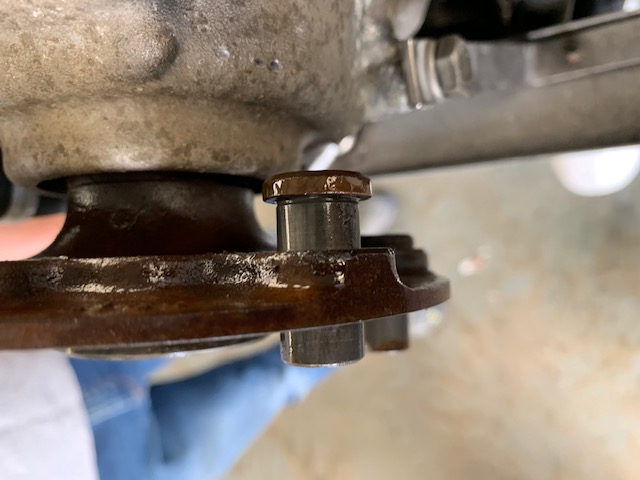
These lugs are press-fit and difficult to remove. First, spray them with AC50 and then have a cup of tea while this goes to work!
The best way we found to remove them safely is to use an M8 bolt through a 17mm socket, this acts as a puller and pulls the lugs back through the flange plate without damaging or shocking the gearbox.
Once they are almost through they will easily tap out.,


Fitting the new prop

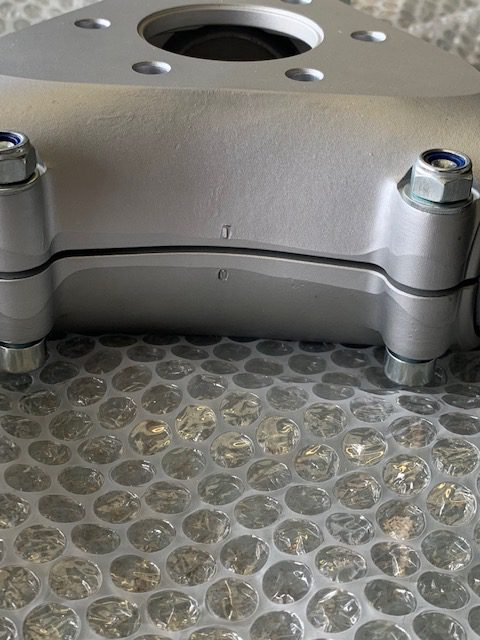
First, lay the prop out and loosely clamp the prop blades in the hub. Ensure the key marks are aligned (see image) this is just tight enough to hold it all together, while we loosely bolt the prop onto the flange using the new adaptor. Note the new adaptor plate can only be purchased from TLAC and was around £120.00 inc VAT.


The bolts to hold the prop on are 110mm long if you purchase the correct ones. However, using these bolts means they have 25mm of thread and about 12mm of this thread is within the flange plate holes. This is not good engineering practice and after checking with the BMAA they agreed. The solution is to buy the next size up (120mm) and cut them down by 10mm thus giving 15mm of thread which means you will have about 3 threads out of the Nyloc and much less thread within the flange.
The bolts we used are M8 grade 8.8, DIN 931 120mm, cut to 110mm.


Once the prop is mounted and all the bolts are in, but not tight, they should be loose enough to allow the blades to be turned within the hub, but tight enough to stop them moving to easily.
Now the pitch can be set. We have found mounting the pitch tool 48.5cm in from the tip on the inside of the mark and setting a pitch of 25 degrees gives the correct revs, 4,800 rpm on the ground. This TLAC confirmed to be the correct test that the prop is pitched correctly.
Work your way around all the blades in turn setting the pitch.


Carefully do the bolts up working your way around the opposite bolts that clamp the blades first. These should be done up to a torque of 15Nm. Now before doing up the main bolts recheck, loosen and adjust and tighten as needed the pitch for each blade.
Lastly, do up the mounting bolts that go through the flange, do this progressively working across the opposites, these are torqued up to 25Nm, then once again check the pitch and adjust the pitch if needed.
All that is left is to ground-run the aircraft. Check your static full power rpm is 4,800 rpm +/- 50 rpm, our brakes don’t hold at this power so we check that we get this during the takeoff.
The torque of all the bolts needs to be checked at 1hr, 25hrs and 50hrs after fitting the new prop.
I hope this will help others, even if it doesn’t it will serve as a reminder to myself if I have to do a third prop conversion!
Lastly, you will need a BMAA inspector to sign your change of information form.