
Flying isn’t just about mastering the controls—it’s about perseverance, patience, and the exhilarating moment when everything clicks. Every pilot has a story, but some journeys stand out for their dedication and grit. In this guest post, we hear from Ady Fletcher, who navigated the highs and challenges of preparing for his General Skills Test (GST).
As Ady’s instructor, I had the privilege of watching his progression. His reflections capture the essence of learning to fly: the lessons, the mental preparation, and the thrill of conquering each new challenge. From decoding complex weather forecasts to rehearsing emergency manoeuvres, Ady’s experience highlights what it takes to pass a test and what it means to become a pilot.
So, buckle in and enjoy Ady’s recounting of his journey to earning his wings
Adi (CFI Get Your Wings)

There’s nothing like passing a test you’ve studied hard for many months!
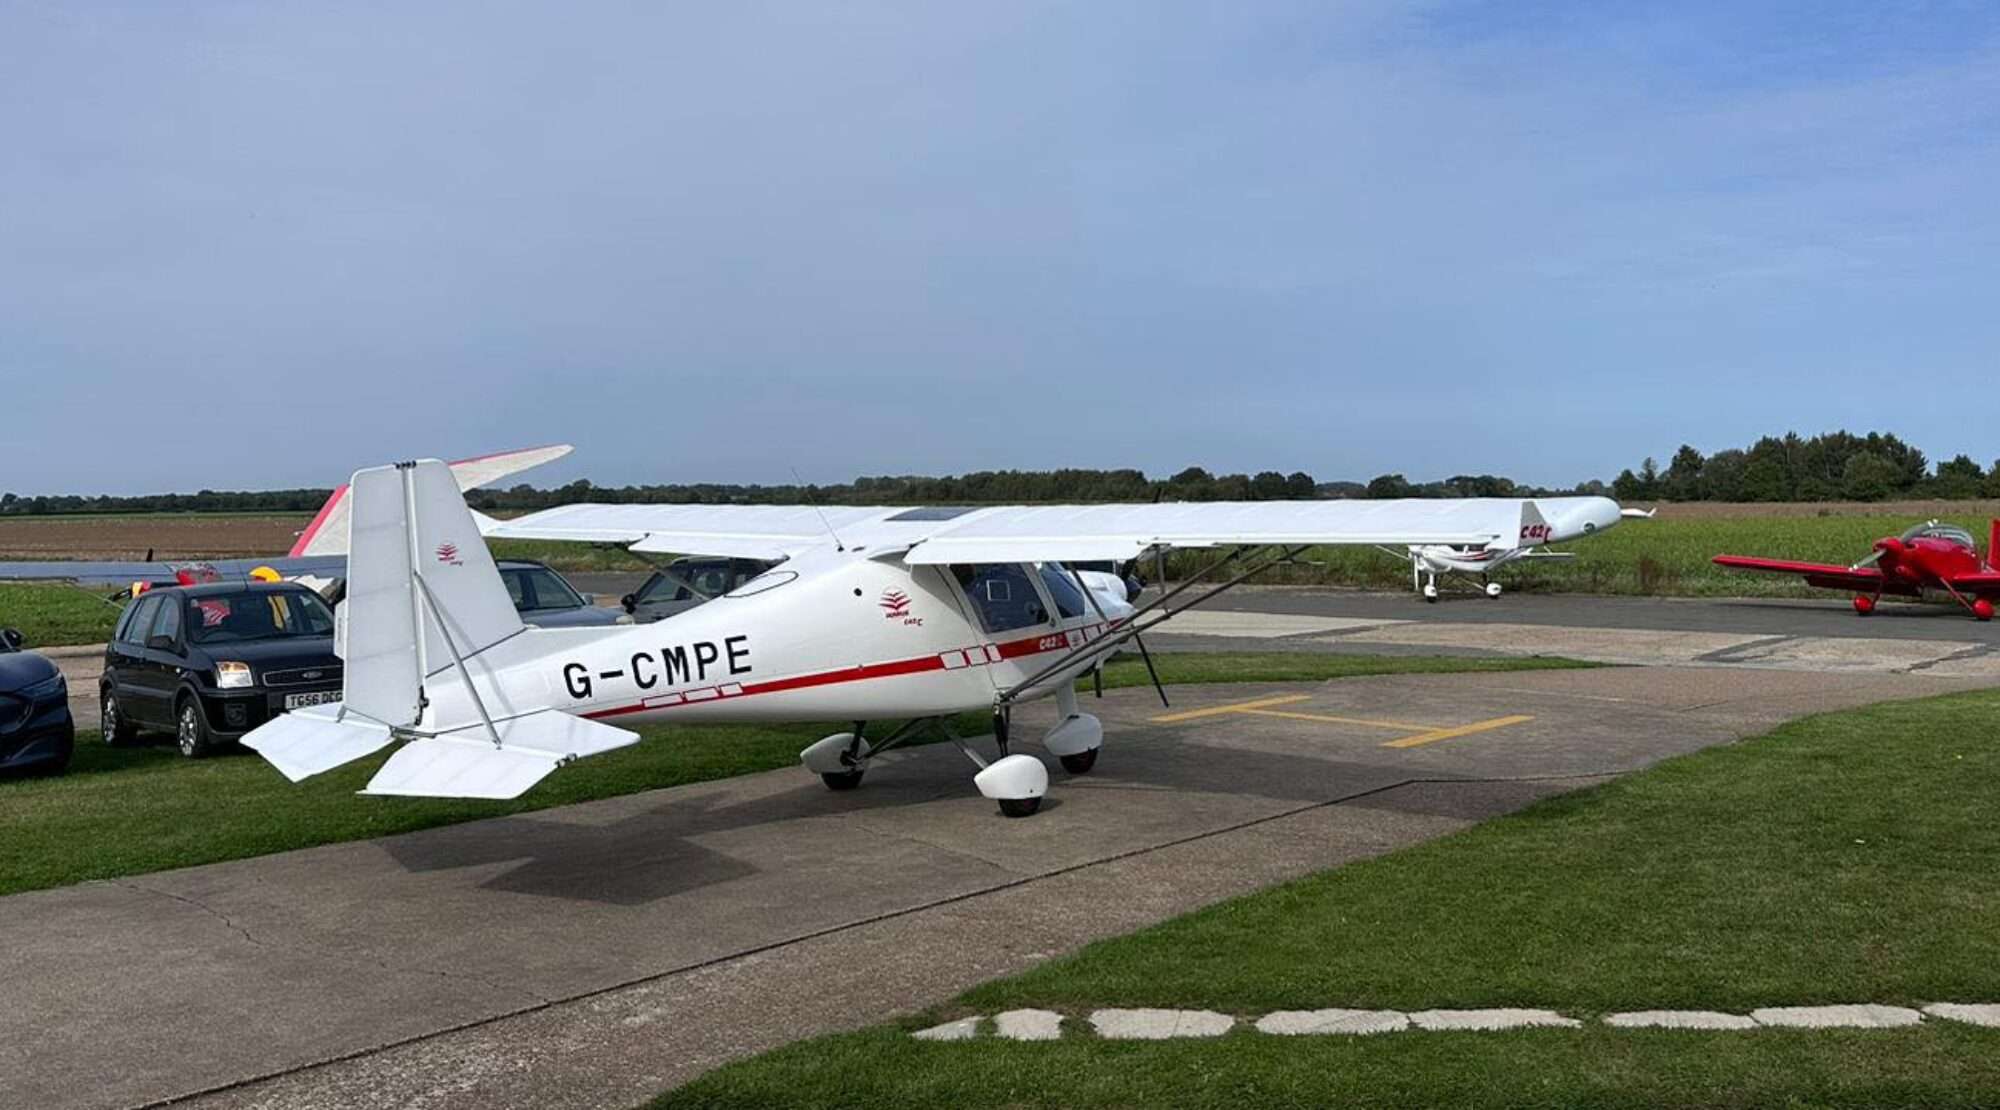
My journey started with giving my Son a flying lesson as a well-done present for passing his exams; the next thing I knew, I was booking my own lessons and climbing into the cockpit of the modern, fast, yet forgiving C42C microlight.
Flying the C42C
Flying the C42C was inspiring; it’s very forgiving and given half a chance can almost recover from stalls automatically, certainly with minimal input. My favourite flying exercises were the ‘Unusual Attitudes’ where Adi of ‘Get Your Wings’, would take control for a few seconds, put the aircraft into a challenging orientation, and then I would recover to straight-and-level flight. There were several variations, so you never knew exactly what was coming next – it kept me on my toes and was great fun!
FRTOL
Flight Radiotelephony Operator’s Licence. While taking lessons in the microlight, I was also attending one-to-one radio telephony lessons with Ian, a very experienced Air Traffic Controller at Norwich Airport. Completing the FRTOL was a significant step for me, clearing the way for me to concentrate fully on the practical flying skills needed for the General Skills Test (GST) and flying in and out of Felthorpe, which is under Norwich Airport’s controlled airspace.
Weather
The weather is a big part of flying, so learning to read and understand forecasts is important. The Met Office is the primary source, providing forecasts that use a suite of aviation acronyms. Learning the multitude of acronyms (like those used for METARs and TAFs weather reports) can seem daunting. My approach was to regularly download forecasts, spend some time decoding them, and looking outside at the weather in question. After a few weeks of doing this, spending a few minutes per day, I soon started to find interpretation relatively straightforward.
Armchair Flying
After a reasonable number of hours flying, much studying at home, and a few classroom sessions, I reached a point where I felt as prepared as I could be, and we set the date for my General Skills Test (GST). Preparation leading up to the exam, other than GST revision in flight with Adi, involved armchair flying! This practice is a mental exercise (albeit often with books and my pilot’s kneeboard at the ready!) involving rehearsing the flight: carrying out the various checks, drills, manoeuvres, and radio calls involved in routine flight, as well as the various exercises usually reserved for performing with a flight instructor, such as those exciting unusual attitudes.
The Big Day
The preparation routine for the GST mirrored that of a normal flying day, though clearly with a heightened focus. I ensured I got a good night’s sleep beforehand and avoided drinking alcohol for 24 hours prior. This included checking the map was up to date and ensuring I was practiced in getting those crucial weather reports, METARs, and NOTAMs. I made sure I knew what fuel level to expect so that I prepared the weight and balance checks, and got my kneeboard set up as I wanted it with any plates, checklists, and helpful notes.
On the morning of the test, the first job of the day was getting a cuppa while checking the weather and NOTAMs, printing those out along with the weight and balance calculations and performance checks. Then it was a good breakfast and trying to relax!
Throughout the test, I was ‘Pilot in Command (under supervision)’ and therefore was responsible for performing all tasks, including the preparation of the aircraft for the flight. So, it was off to get the C42C out from the hangar and into position for the preflight checks.

The Test
To help reduce my stress levels on the day, I made sure I arrived in good time at the airfield. Once settled in, I then checked the windsock, the METAR, TAF, and mAdi sure all paperwork was ready for inspection, not forgetting my passport.
All too soon the examiner, Howard, arrived at the airfield. After some calming words from him, we got down to business, reviewing the paperwork for the plane and myself. We then reviewed my flight preparation, talking him through my analysis of the weather reports and NOTAMs.
The pre-flight inspection, a well-practised and vital task, was next. I was accompanied by Howard, who asked various technical questions as I worked my way methodically around the plane. All these questions I was fully prepared for, thanks to the ‘Get Your Wings’ book and C42C technical sheets.
The passenger briefing can be easy to overlook but is a legal requirement and just good practice. I worked through my pre-prepared spiel, treating the examiner as a novice passenger.
The Flight If there’s one thing to be aware of, it’s that the mistakes were mine to make. By this I mean, as long as I wasn’t doing anything immediately dangerous, the examiner would let me make the mistake and would not do anything to correct, comment, or critique during the exam itself. All aspects of the exam, good and not so good, were noted by the examiner and discussed afterwards over a well-earned cuppa.
The take-off roll was textbook. I checked the compass aligned with the runway (RW 05 for a crosswind take-off). Once full power was applied, I checked the RPM was greater than 5000 and the airspeed was rising on the indicator, climbing at 60 knots until above 300ft before raising flaps and then built speed up to 70 knots. Then into a climbing right-hand turn to come back around over the airfield while making the ‘airborne’ contact with Norwich Tower, and levelling out at 1000ft (as per the Felthorpe departure procedure) heading for the Swannington VRP.
While the weather was perfectly flyable in the robust C42C, it was also somewhat challenging with a stern breeze, changeable direction, and widespread moderate turbulence (as per the forecast, which I had highlighted with asterisks in my pre-flight briefing).
Once at the VRP, my first challenge came via the radio, Norwich Radar asked that we continue at 1000ft as they were vectoring in a commercial airliner. Normally, this would have been fine, but today with the turbulence, it was starting to become wearing. Howard suggested we seek to change heading, which would allow us to increase altitude, and thankfully, the air traffic controllers took mercy on us and approved the change.
Now flying in a northerly direction, we climbed to 3000ft and started to work through the list of exercises, a 270-degree turn with a bank angle of more than 45 degrees but less than 60 degrees. The horizon is used as a visual reference for these, and while the visibility wasn’t great, it was good enough, so these went very smoothly and stayed well inside +/-100ft.
Then it was straight on to stalls, a simple one at first. I wasn’t quite used to the way Howard worked and wasn’t sure when to recover (this was my fault, not the examiner’s!), but once I understood, the C42C was so easy to recover, it was the simplest of the exercises.
But then fear struck as I realised I had made a crucial mistake. I had gone from high bank turns (which I had practised as being part of the lookout checks) straight into the stalls without performing the essential HASELL checks (Height, Airframe, Security, Engine, Location, Lookout). I immediately put a hold on the exercise and admitted my omission!
HASELL checks complete, it was back to ‘stalls in the turn’, i.e. simulating a stall while turning base leg, and a stall in the approach configuration, followed by stalls at the incipient stage.
Then came the once-feared, now-enjoyed(!) ‘Unusual Attitudes’, where the examiner takes control and puts the aircraft into a situation with high speed, high attitude, or high bank and then says, “Recover,” followed by perhaps a dive with a high bank angle, and again, hands control over to me to recover. These can be intimidating at first, but once well-practised, I started to enjoy them! These all went as well as I could have hoped.
It should be noted that while I haven’t mentioned them explicitly so far, throughout the flight, the usual lookout scans and good airmanship checks were constantly being performed.
At times whilst we were flying straight and level, we talked through a few emergency drills, and the next thing I knew, Howard said, “Okay, so you’ve lost your engine,” and it was on to the well-practised forced landing (PFL). Fortunately, there was a huge field within gliding distance and into wind too, so I headed for that. Despite some wires at the end of the very long field, we both agreed it would likely have been a successful landing. I did make one mistake on this exercise, which I would only learn about during the post-exam wash-up, I forgot to brief the passenger on what was happening!.
So, we climbed away, and lo and behold, we had another engine failure – a simulated failure on take-off. I picked a field, adjusted my speed to best glide, performed my checks, sent a ‘Mayday’ call, and then Howard asked which field I was aiming for. Because there were at least ten within range I was struggling for a better description, I pointed at my chosen field and said, “That one!” The examiner responded, “Which one?” Rather aghast, I said, “Erm, the dark green one!”
Climbing back up, we talked through more potential problems, and again, surprise surprise, we now had an engine problem – low oil pressure – which led to another discussion and a decision to perform a precautionary landing. We flew at 800ft, seeking a suitable site to land, and headed for Gunton Park, which was close by. I performed a routine of flypasts and circuits to assess the site (there’s actually an airstrip there!). For exam purposes, I was talking through my thoughts, what I was seeing, and my reasoning for either selecting or rejecting the landing site. There was a large herd of deer nearby, telegraph poles, and trees, but none of which were a cause for concern, and of course, I selected it. I then performed a glide approach and aborted the landing before getting too low, climbing back to 1000ft.
You may be thinking that this all sounds very daunting, but because of the way Howard conducted the exam, I was completely at ease and Adi makes sure all these manoeuvres are well practised. I did, however, during a routine scan, I found the carb-heat had somehow been switched on (it is not normally used in the C42C, except in the case of actual carb icing), and I can only imagine its unusual position was a test of my routine checks.
I was then instructed to find my way back to Felthorpe. From training, this was a well-practised routine, and while use of Sky Demon made it easier to find the edge of controlled airspace, the plane almost knew its own way home. So, with the direction set, I set off to head for the prescribed Felthorpe re-entry altitude of 1200ft. Howard asked more questions, one being what I would do if the tablet, on which SkyDemon runs, stopped working. At this point, I realised I had made a mistake back on the ground: the laminated paper map I had got out was still sitting uselessly on the desk. I responded, “I would use my phone” but this was not the answer he was looking for…
With ATC clearance granted, it was back over to LenwAdi Lakes, switched to Norwich Tower, and joined overhead at Felthorpe. You will recall the weather that day was somewhat breezy, with moderate turbulence. As time went on, conditions were deteriorating, and as we descended to circuit height, it was clear things would become ‘interesting’.
Next on the menu was a ‘touch and go’. I commenced my downwind run, making the downwind call to Norwich Tower: “G-PE, downwind Felthorpe 16 touch and go.” It was at this point I should tell you, runway 16 at Felthorpe was not often used; it was an unusual wind direction, and until the previous day, I had neither taken off nor landed on the 436m strip.
The day before the GST, I was at work but kept a close eye on the forecast. Seeing the predicted wind speed and direction, where its strength would preclude a crosswind landing on a longer, better-practised runway, I was concerned. So concerned that I messaged Adi and asked if he had any free slots that afternoon for some extra pre-exam flying time. Thankfully he did; the wind was in a favourable direction for using runway 16, and I took an impromptu half-day’s holiday from work. We spent an hour ‘beasting’ the runway 16 circuit, followed by another hour of GST revision.
As it turned out, the previous day’s ‘cramming’ was a worthwhile investment. The wind on the day of the GST was more or less straight down runway 16, but conditions were challenging for me with a lot of turbulence at low-level.
Turning final was as planned, albeit a little late, and the call “G-PE, final Felthorpe 16 touch and go” was made to Norwich Tower. As we came over the wooded area and descended through the trees, we were being thrown around more than I’d previously experienced. As I started to flare the plane in ground effect, a gust of wind picked up the plane, and suddenly we were back up three metres above the ground. At that point, with the 436m runway quickly disappearing underneath, I knew this was not a landing that could be salvaged and chose to go around. It was at this point that Howard broke his rule and provided me some instantaneous feedback: “Good call!”
So, we were back in the 800ft circuit (which is actually just 680ft above ground level), being tossed around like a green salad. This time, my downwind leg went long, too long. I turned base not being able to see the runway, which was hidden behind the trees, and I was left guessing where to turn final. So it was no surprise when I did turn; it was too soon. The runway was nowhere to be seen, and I had to perform a lazy drift across until I found the runway’s centre line as it came into sight. Certainly not the best circuit I’ve ever flown.
In the last stages of the final leg, I held my breath as again, descending between the gap in the trees, the airspeed varied with the gusts, and I decided to add power and increase airspeed to help push through the turbulence. Carefully, I judged our height as we passed over the horse paddocks, aiming as tightly as I could at the nearest part of the runway. Now clear of the fence, engine to idle, I flared and continued to flare – going well, going well – the rear wheels smoothly touched down. I kept the nose high, pulling back, let the speed bleed off, pulled back, and eventually, the nose settled gently to the ground… phew! That was certainly the most challenging landing I’d had to perform.
Again, feedback from my examiner was surprisingly positive: “Well done, very well done!” …but the GST was not complete yet.
Flaps up, I pulled back on the stick to keep the weight off the nose wheel and taxied back to the hangar, where I performed the shutdown checks: radios and electrics off, and finally engine off, taking a note of the Hobbs time and the clock. Turning the master switch off, I was presented with Howard’s hand to shake. “Congratulations!”
I didn’t stop grinning for the rest of the day.


