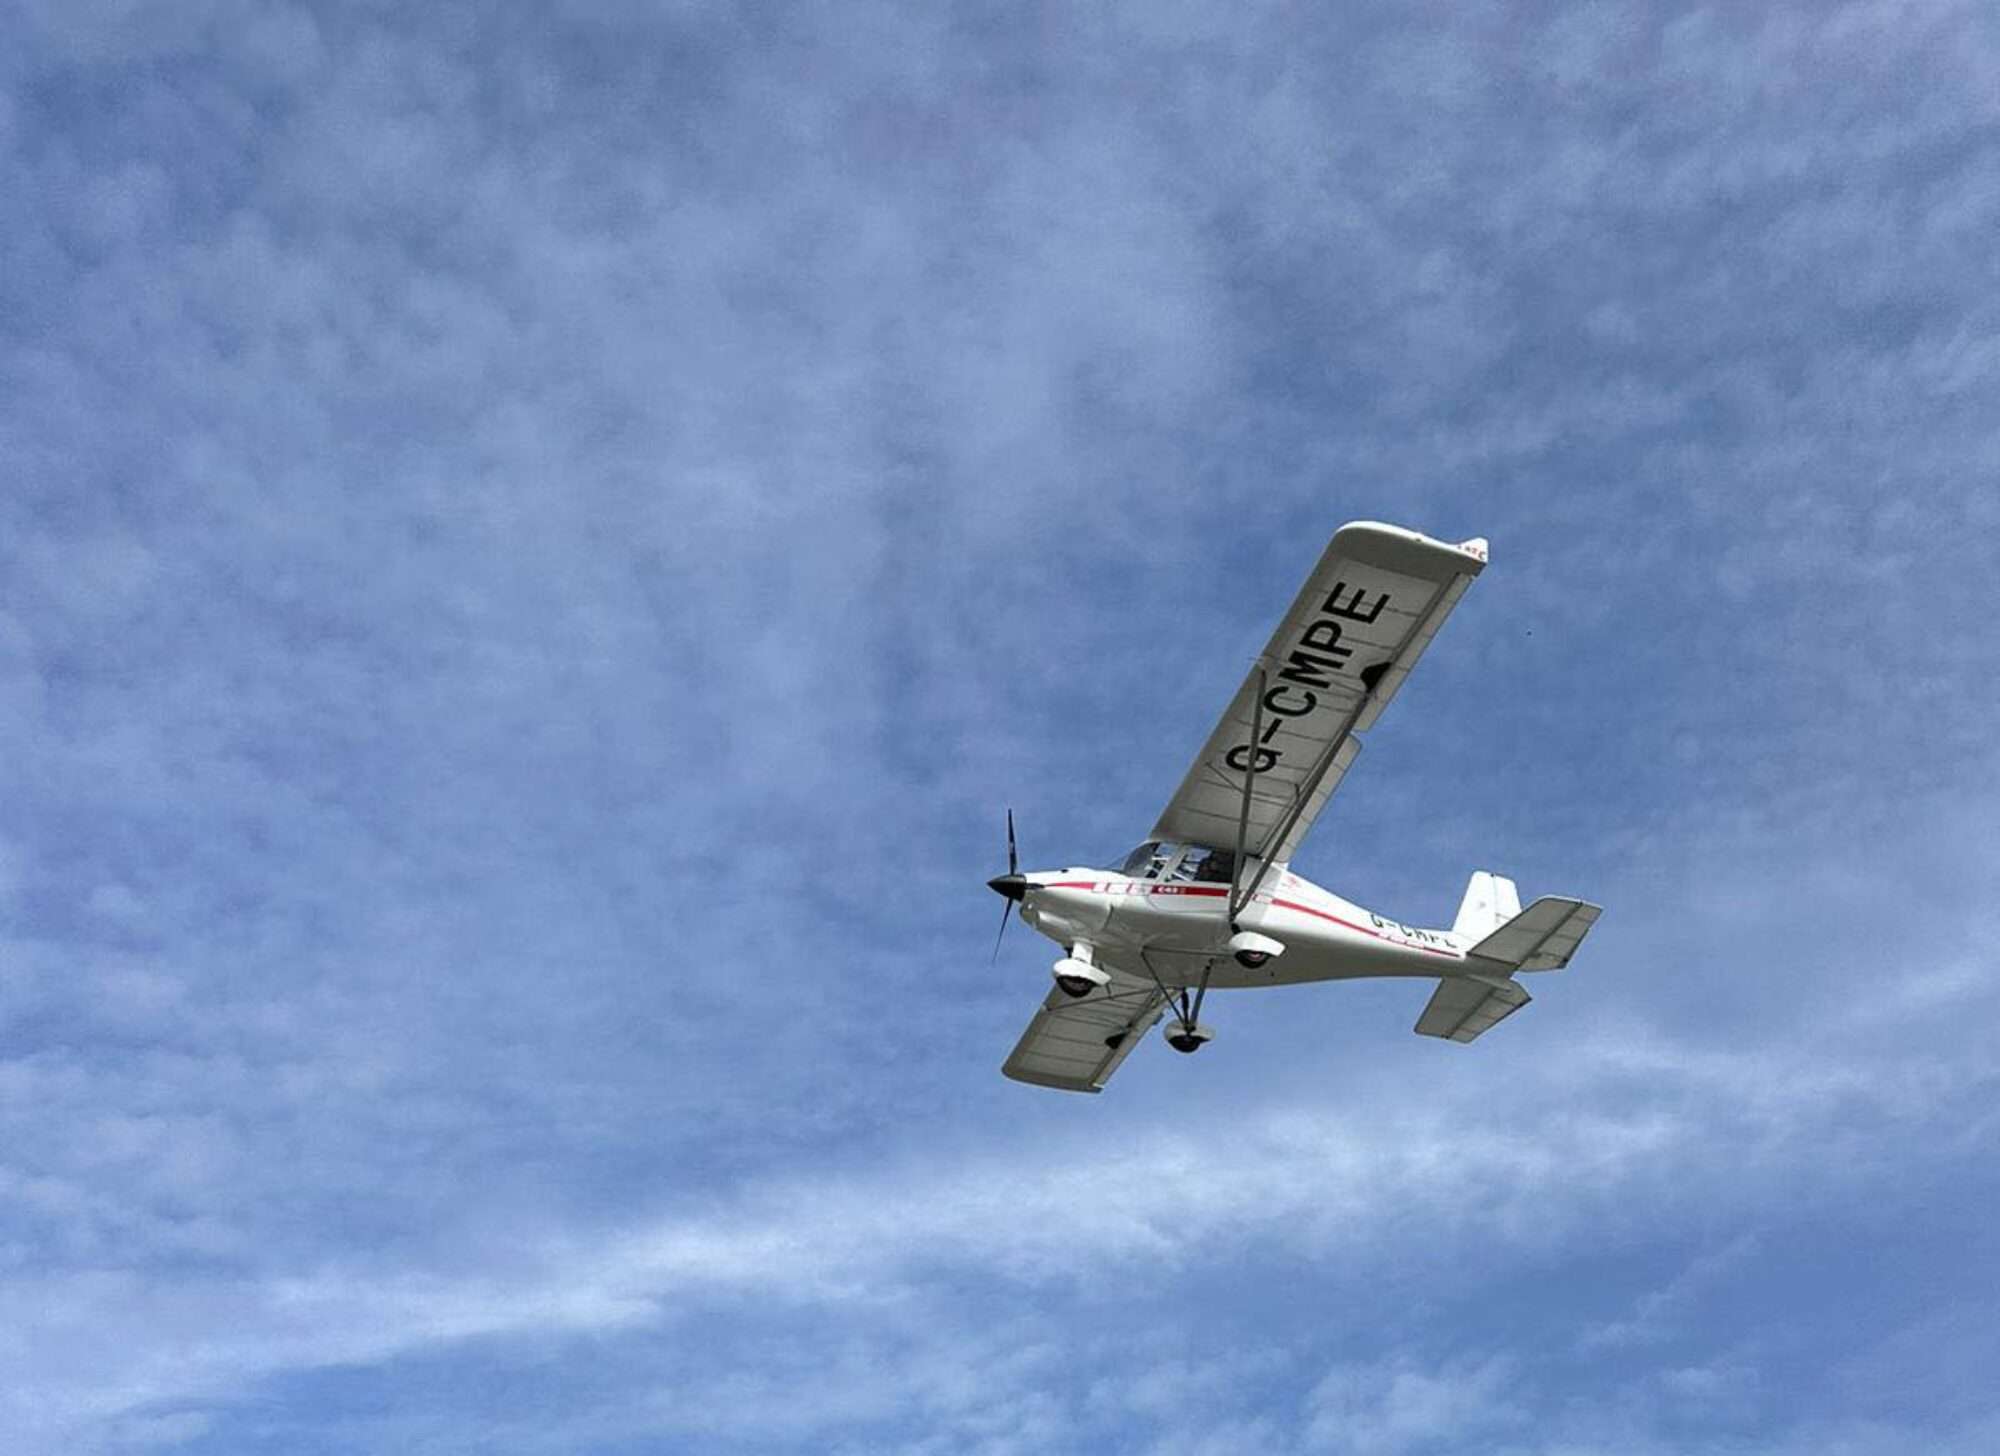
SkyDemon, Pilotware and a trip to North Coates

I have been having reliability issues with my home built PilotAware to the point where when I went flying it was not a case of if but when it would have a problem! Well (touches wood) I seem to have gotten to the bottom of my issues, first of all I would like to make it clear it was not a fault of the PilotAware software.

The issues I had were that it would take a good three minutes or more for the Ublox VK-172 GPS to get a fix when connected to my PilotAware and if it lost its position in flight at 70 knots it would not get its position back very quickly or sometimes it would never get it back. However, when connected to a PC running the Ublox software it worked fine! I eventually ordered another from HK via eBay, when it arrived a few weeks later I was somewhat dubious as it came sealed in a plastic anti-static bag, whereas the first one came in a blister pack with CD and manual too. I connected it up and within around 45 seconds it got its first fix and ever since it seems to take about 20 seconds and it’s ready to go.

The second issue I had been having is that the WIFI link would drop and I could not reconnect without rebooting the PilotAware however, this seemed to only happen in flight. I considered various things such as interference from the aircraft, vibration etc, but in the end a thicker supply cable (20 swg) as is recommended seems to have fixed it.

I had tried it on a few short flights without issue so now it was time to try it on a flight of more than an hour as previously the issue could take 30 -40 mins before showing up.

A flight up north to North Coates was selected and Sam and I set off, on route we occasionally saw or own trace on SkyDemon from PilotAware showing up but, later I found this to be a wrong setting and selecting the filter (beta) option seems to have resolved this.   We saw several different aircraft show up on SkyDemon however, one of interest at our altitude and heading in our general direction. We kept a keen lookout for this (and any other) aircraft. Eventually we saw the Aircraft on our left and by now both visually and on SkyDemon (thanks to the data feed from PilotAware) it was clear it would pass safely behind us.

We arrived at North Coates where the wind should have been at 40 degrees to the runway at 10 knots but in fact it was highly variable in direction at while landing it was 10 knots across the runway with turbulence coming off from the adjacent hangers. It made things a little more interesting but the final touchdown was nice and smooth.

North Coates seems a nice airfield with a small and friendly café and no doubt I will be going back at some point soon.

The Wild Cats were due in at 14:00 so we waited until 14:20, but there was no sign of them and we needed to be getting back so we left and shortly after calling that we have left the circuit we heard them on the radio inbound, I think that is called sods law!

The take-off and flight back was uneventful with the wind having died down, we had a few more contacts on SkyDemon via PilotAware on the way back but nothing near us. There was no loss of connection in either flight and the whole system was rock solid.

So with my fingers crossed and touching wood it seems like my PilotAware issues may be fixed and when SkyDemon with it new traffic radar display is combined with PilotAware the benefit is more than doubled, it is a very useful secondary surveillance device, your eyes must however remain your primary!


Set QFE in Dashware

I was recently asked how I managed to change the altitude to QFE (ground level) on my videos, well when I can be bothered to do it! So here is how to do it.

I use Dashware to add the tapes to the video before editing the video, I do this before to ensure the data is in sync with the video.

I capture the video using my TomTom Bandit, which has a built in GPS. However like all action cameras I know of, it suffers from strobing on the prop. To overcome the strobing I made an ND8 (neutral density) filter by ordering a plastic ND8 filter from ebay. I cut in a circle and held in place using some large heat shrink. Anyway that’s for another day today we are looking at how to offset the reported altitude. Or put another way QNH to QFE.

For this I will assume you have your data and video file ready and that you know how far out the altitude is.

Below I’m using Dashware version 1.9.1

Load your video in the normal way then:

1.      Open the load data screen

2.      Select the data file and click “Edit Profiles”

3.      Make a clone of the data profile you are using, so that you can edit it.

4.      Add a Math Calculator (bottom left area) that takes the Altitude and subtracts the offset                needed, you may need to play a little with this value. the value is entered into the “Constant Parameter”. use the other settings as shown below.


5.      Call this new channel QFE in the output value.

6.      Now add a mapping channel for QFE by clicking the + in column mappings

7.      Map the columns as shown below

8.      Click OK to close the Data Profile Editor screen

9.      Then back at the add data file screen ensure you have the newly create Clone profile selected and click add to show your new altitude.


I hope this helps!

Tomtom in the cockpit and it’s not for navigation!

So my new toy has arrived as much as I would like either a Garmin Virb Ultra 30 or a Gopro Hero 5 Black, I simply can’t afford one (if someone wants to send me one to review and keep… 😉 ) or justify it for my needs so what else is there that tracks your position and shoots good video?

Previously I have used a GoPro Hero Session 4, however I have not found it the most reliable device to get and keep running, I just wanted something simple that I can put in the cockpit access it via my phone to position it and start recording. Looking around the Tomtom Bandit  at £138.00 (from Amazon at the time of writing) seems like a good compromise, it has a good battery life of over 2 hours at 1080P 30 FPS including the GPS. So more on an impulse than anything else I ordered one!

It’s a nice camera and well designed, it feels well-made, it is a little heavier than a GoPro, bigger too! It comes with an adaptor to allow it to mount onto a GoPro mount. My first issue with it was setting up an account first before you can setup an account you need to have connected the camera, then it would not allow me to this via my iPhone, I eventually overcame it by downloading the Beta desktop Tomtom studio which allowed me to create an account, what a painful start!

Next issue was no one sells an ND8 Filter for it (I should have checked this before ordering it) I managed to make one out of a plastic ND8 filter I had purchased previously and held it in position with some large shrink wrap. ND8 filter is needed when shooting through the prop, well unless TomTom add as setting for this but no other manufacturer has, #MissedOpportunity!

TomTom Bandit with ND8 Filter on the front

No one makes a lens cap for it! A kind person on the Tomtom forum told me to buy a 34mm push cap and it will fit, one is now on order.

So on to videoing I recorded some footage at 2.7K 30FPS, 4K 14 FPS, 1080P 60 FPS and 1080P 30 FPS.

2.7K was great quality. (I didn’t like these gauges and switched to the strip ones in the next video.

4K was sunning detail while on the ground but struggled to keep up in flight (sorry I did not up load this one).

1080P 60FPS, surprisingly disappointing it showed up a lot of vibration and made the video unwatchable for me, I may try this again when/if I get a gimbal for it (sorry I did not up load this one).

1080P 30FPS, this seems to be the best compromise all round good quality video, good Battery life and did not eat up the Micro SD card.

Next how to get the data overlay on the video, TomTom’s gauges aren’t great and are not configurable to show height in feet distance in Km and speed in Knots, which is a real shame as it edits very quickly in TomTom’s app both on the phone and on my old Laptop.

So over to DashWare (now owned but GoPro), this allows for loads of different gauges and layout and works with the TomTom camera if you export the GPS data first (right click on the file in TomTom’s Windows app) but the problem with DashWare is the rendering time 1hr 4mins for a 6 min video ouch!

Overall if you are happy to make your own ND8 filter (it was not difficult) and prepared to wait while DashWare renders the video you end up with great videos from a very competitively priced camera. and over all a better experience than the one I have with my GoPro Hero 4 Session


Now if only TomTom were to add the strip gauges for aviation within their app they would be on to a winner for us pilots.


Aerobatics are not for me so how about flying without an engine?

The Easter long weekend gave me an opportunity to go flying in a Cessna 150, my C42 and a glider.

So it all started when I book a lesson in the C150 at Rutland flying school, I booked a lesson as I have not flown a GA for some months, while booking the lesson I mentioned if it would be possible to do a single loop or Barrel roll, just to see what it was like, alas the instructor doesn’t like doing aerobatics.

On the morning of my lesson, Good Friday, I got a text saying he had managed to book me in with an aerobatics instructor! The look of terror on face would have saved be from writing this blog if I had thought to have taken a photo!

I drove over to Chatteris and got the Microlight out and flow over to Shacklewell for the lesson. On the way over there was a large rain cloud duly washing Peterborough, so I went north and over towards Rutland Water, turning at Woolfox Lodge (disused), I had tried calling RAF Wittering a few times but they seemed to have had the day off to eat their Easter eggs.

I arrived a few minutes late, but immediately before the C150 I was to have my lesson in.

I preflight checked the Cessna using the check list and we taxied out and took off from runway 24, climbing up to around 3,500ft the instructor demonstrated a loop, immediately followed by a roll and stall turn, Help! I was feeling very hot and a little dizzy, he talked me through what he had done and asked “ready to see it again?”, my mouth answered before the brain had chance to say not really, and yes came out of my mouth.  We did the same and I was not feeling good, I did like the moment of weightlessness at the top of the stall turn. So when it was my go I decided to just try the stall turn and I don’t remember to much about it, other than thinking, that’s it I’m done, get me down, which translated to me saying, “I’m not feeling great can we do a few circuits while I recover” and that is how we finished the lesson off.

I flew back to Chatteris still not feeling great which continued through the next day too.

Come Easter Monday I drove with some friends to Peterborough and Spalding Gliding club at Crowland Airfield ( www.psgc.co.uk ) and had a 38 min gliding experience. This was good fun and I can see why people enjoy it, although for me going around and round in tight circles riding the thermals ever higher, while watching out for other aircraft getting very close was a little less fun then flying from A to B and looking down at new places. If you want to try gliding this is a very friendly club and I would recommend them. As for the flying it was not that different, I just needed to use more rudder to coordinate the turns then I do in the C42.

All in all a good long weekend of flying was had and lessons learnt, keep the aircraft the right way up!


uncertified GPS for ADS-B out

Saturday 28th Jan 2017 was another non flying day due to the British weather, however our plane was being serviced in the morning by Gary of Airmasters and Simon and I were fitting an uncertified GPS to our C42. The mod is quite cheap and easy to do, I have published a how to under the projects part of the Clearprop website here. We did run into one problem which was with the power supply we used gave out a lot of interference and this was changed for a different model which seems clean.

We have always been aware of the NATS trials, but the majority of the group didn’t want to take part in the trial, however now with the BMAA handling the certification under TIL 118 (which is free at the time of writing) and having spoken to NATS at the flying show in December we thought it’s time to do our bit and raise our visibility to other air traffic. NATS who were very keen to promote doing this told us that it would give US and UK military aircraft visibility of our position directly to the pilots, we have a lot of military airbases near to us so this is a big plus!

The advantages of adding ADS-B out is that it is visible to the many emerging traffic systems such as Pilotaware, TCAS & Flam,  it also gives ATC more information about your position even when not on primary radar.

A recent visit from a Tornado pilot confirmed that adding this enables our exact position to be seen by the RAF jets.

So at an all in cost of £45.00 and a weight penalty of just 92 grams the question really is why wouldn’t you do it!

The noise power supply was a CPT 12V to 5V

Without the supply being switched on the airband looked like the below picture

Airband with the supply switched on!


The clean Power supply is pictured below

A full write up will follow soon, but in the first 4 flights since fitting it is looking good with even the entire flight being recorded on FR24 from takeoff to landing!

A quick blog about a short flight testing PilotAware with SkyDemon

So a great day to fly on Saturday, however our microlight was booked out for the whole day, well actually it wasn’t, it was just that a booking failed to be cancel that a member of our group said they had cancelled, man vs machine! Not to worry Sunday was looking promising, but as it turned out it was not so good, rain and low cloud was the order of the day. I did get a 10 min flight in and my friend Simon and I went up for another 20 mins later too.

Hardly worth blogging about really, but I had built my PilotAware into a single case and wanted to ensure it worked so 10mins and a further 20mins was indeed worth it, well for me any time spent aloft is worth it!

So this is what PilotAware looked like before I rebuilt it:


And now it’s more robust in a single case:


I have also removed the casing from Both the GPS and DVB-T TV tuner dongle RTL2832U that is used for the ADS-B receiver. The ADS-B receiver runs quite hot so I have ordered some SMD heatsinks for it, but they have yet to arrive.

So on the first flight I had it wide open to all traffic and wow with the change of aerial to the “Rubber Duck” meant I could see traffic everywhere, all way out or way high! It could have also been that I had enabled the feature “Mode-CS (Beta)”.

The first thing to note was I was seeing myself as a target on my Skydemon, When back on the ground I added the Hex of our aircraft and rebooted the PilotAware, this resolved the issue of seeing myself. Next I downed the range from long to medium and the height in Skydemon from 50,000ft to 10,000.

So on our next flight and with Simon at the controls I had time to play with it and we were picking up traffic, but with the new settings the screen was a lot less crowded, however we did not see a Mode S equipped aircraft below us and landing and I’m unsure why that was, it was showing in the Traffic screens so I will be asking that question to see if it is my configuration.

Overall I would say this is a great supplement to your own lookout, which remains the primary way to observe in VFR.

Next up I have ordered a plug to connect my headset to the audio out so I get any warnings without needing to watch the screen. I will let you know how I get on with that soon.

Extra eyes in the sky with PilotAware and SkyDemon

I have dipped in and out of the PilotAware project for over a year, but as the weather was good and I was not flying alone last weekend I decides it would be good to try it out.

So first off what is PilotAware? Well for a full description I would suggest you head on over to their web site http://www.pilotaware.com where they will summarise it as:

“PilotAware is a low cost portable traffic awareness unit for use in all types of aircraft that shows where aircraft are in relation to you. PilotAware integrates with existing popular navigational equipment such as Sky Demon, Easy VFR, Runway HD, both Android and iOS, and is also compatible with other fixed navigation equipment such as Dynon equipment. Also includes audio alerts.”

All of which seems to be true! It is based on the popular Raspberry Pi 2 B and uses an uBox USB GPS, A DTV dongle, USB WIFI and a PilotAware bridge board for the reception and broadcast of their own system, which is supplemented by the reception of ADS-B via the DTV dongle, clever and cheap (comparatively speaking).

So why have I left it so long before flying with it? Well a number of factors, first it originally used an off the shelf transmitter, but they found this was underperforming and the all new board was only released earlier this year. Next and still a concern for me is the uBox GPS, it is very slow to get its first 3D fix and thus rightly or wrongly I’m concerned on what will happen if it loses its fix in flight and how accurate it is. I think I will raise my concerns at the 2016 Flying Show with the PilotAware team in December as they are showing the system there. Also I don’t like the exposed wires and USB dongles, I would prefer them all to be encased; lastly I have only recently purchased a 16Ah USB battery to power it in flight, the plan was originally to use our aircraft’s 12v socket, however no plugs seem to reliably stay in it, a problem with our aircraft not PilotAware.

So onto the flight!

Tom and I got to the airfield in time for our flight and we waited for the person before us to return to the airfield. While waiting I switched my PilotAware unit on as the GPS I have is not the fastest in the world to get a fix! I left it on in the car for around 45mins and had previously ground tested the PilotAware driving for around 1 hour, the flying time today was 2hrs 15mins and I left it on while on the ground for around 1 hour at Cromer. So a grand total of 4hrs 15 mins and the battery pack was still over half charge remaining! I’m using the RavPower iSmart 16.75 Ah battery which can be seen on Amazon  here

I use SkyDemon for my navigation and connecting the PilotAware is very easy, once setup. Simply select Fly and now you have a choice “Use Location Services” or “Use FLARM”, Pilot aware uses the FLARM protocol to pass location and traffic information to SkyDemon. If the system were to fail you can simply stop the Navigation and restart it using Location services or get the map out!

The first thing to say is the GPS did not drop its fix at any point and seemed to be very accurate. We flew to Cromer for the first leg and stopped there for lunch, where we met by chance some of the guys from Boston airfield.

Another feature of PilotAware is that it has an inbuilt track logger and the below image was up loaded from this test flight. SkyDemon also saves your tracks and they can also be exported into a map the same way.

I currently have the system set to 30,000ft separation, just for testing, on the flight back we saw on screen and in the sky a number of commercial aircraft way above us. Which we thought was pretty cool!

On our final leg back we had a RV8 cross us 7 miles out, we did not make visual contact, but it was on the display and we could see he was climbing out.


I think this unit has proved itself and adds even more benefit to flying with SkyDemon, even if just for a local flight.

My next task is to build it into a single all inside case, that I have ordered from eBay.

For those that prefer to fly with a paper map the unit also has an audio out for announcement of aircraft e.g. “Traffic, One O’clock, level, ten, kilometers” will be announced.

Many light and Microlight aircraft don’t have a GPS connected to there transponder, if this were to hardwired into the aircraft it has a GPS out option that can now be connected to a compatible transponder. See this report on the NATS web site http://www.nats.aero/news/successful-gps-trial

Overall I was very impressed, anything that helps you see other aircraft early has got to be a good back to your lookout and a safety improvement, I for one hope more people use PilotAware or at the very least connect a GPS to their transponder.


An amazing days flying to Weybourne or is it Muckleburgh

The plan was to fly to Weybourne taking in a few sights on the way landing at Muckleburgh and to visit the museum there.

Shortly after arriving at the airfield I checked the coolant level with Katie as it has had a slight loss over the last few weeks and it once more needed topping up, but not by much.  On checking some of the pipes I found one pipe’s heat shielding was wet and following that back, the pipe leading to it was wet up to a T joint where it was dry above. On checking the Jubilee clip it was not as tight as it should be, so with that tightened and the aircraft back together and my passenger Tom on Board we warmed the aircraft up for much longer than normal just to make sure things were still looking good.

Then around one hour later than expected off we went, flying out towards Kings Lynn before turning to the North East, flying high and just south of Great Massingham airfield. The airfield was built as a satellite airfield of RAF West Raynham in 1940, the airfield closed in 1945 and these days is used as a private airfield and farm with the original runways still existing. Next, we flew past West Raynham itself. The airfield opened in May 1939 and was used by RAF Bomber Command during the Second World, it was eventually sold after being left derelict for many years and now there are plans to turn it into a solar farm!

Great Massingham
West Raynham

Next on the list and a little far from our chosen route was Sculthorpe. RAF Sculthorpe was built as the second satellite airfield of RAF West Raynham a few miles to the south, the first being RAF Great Massingham. Work began to establish this airfield in the spring of 1942, today much of it has been sold off, however the army retains the runways and uses it for training.

RAF Sculthorpe

We continued to Fakenham Racecourse where the Fakenham Archery club meets in the summer and to which I belong.

Fakenham Racecourse
Fakenham Archers

Turning northwards we made our way passed Little Snoring. The station opened in July 1943 and was built to be a satellite station for RAF Foulsham which is 6.0 miles south-east of Little Snoring. Little Snoring is currently used for GA and is the home of The Light Aircraft Company who make the Sherwood Ranger plane.

Little Snoring

Next was our destination Weybourne, the approach today was over the sea and in over the three antiaircraft guns on the threshold.

On Approach at Weybourne

We touched down (without being shot at) on runway 16 an uphill runway without issue, after landing we wandered over to chat with two guys getting ready to depart in their Escapade (Richard a Microlight instructor and his student Ian) we spent some time chatting when Ian asked if I run a blog, I do I replied, he then mentioned how he had found the blog and that it was interesting and useful. This is the first time other than students at Chatteris that I have been recognised and it took me by surprise, it is great to meet and hear feedback re the blog, especially when it is positive.

Richard Ian and I
Welcome!

We tried to get a cup of tea, however due to our late arrival we did not have time to go around the collection and allegedly the council has imposed conditions of use on the café that you have to pay the £11 entry to use it, so that is for another day.

The way back took us out passed Blakeney Point and passed an Iron Age fort “Warham Camp” before we picked up our original route back to Chatteris.

Warham Camp Iron Age Fort
Blakeney Point

All in all this has to be one of the best days flying to date.

This is why I fly, why do you?

Microlights to GA NPPL(SSEA)

So it’s been a while things are mad in my work and home life currently, but you are not here to read about that! As per my last blog I have been training for my SSEA (Simple Single Engine Aeroplane) rating at Rutland Sky Flying School and I’m pleased to say I passed both the NST and GST within the last 2 weeks. So my journey from Microlights to GA is complete, or is it?

I found landing the Cessna a bit easier than the C42, when it’s down it stays down whereas the C42 can bounce back up or a gust of wind can bring it back to flying speed! The control and differences are not difficult and it just takes a few hours of practice. One issue I had was underestimating just how far the C172 will float on a practice forced landing and not being able to sideslip it to ensure you are going to make it down meant a few overshoots while practising! Also having a big steering wheel in front of you took a few lessons to stop trying to steer it with it while on the ground.

Next, you have to take 2 written exams I used the AFE exam practice books which have a great concise reference of everything you need in them and I found the exams to be no issue whatsoever.  A lot of the questions are almost the same in wording too! the two exams needed are Principles of Flight and Aircraft General Knowledge (click the links to see the books on Amazon.

The NST (Navigational Skills Test) was not something I was looking forward to, as I like to fly with Skydemon however I planned the route set up the times and flew the route without issue asking for MATZ penetration changing transponder codes etc all without issue, part way on the second leg you are asked to plan and fly a diversion while flying and maintaining heading and height within tolerance.  I planned this and estimated the heading and time, turned on to the new hearing and about 5 mins from the new destination decided I hadn’t factored in the wind and made a correction for it and flew right past where I should have been! I spotted my mistake and re-planned and flew back to the destination.

We then flew back to the airfield where I was informed I had past the NST.

This is a good test on two levels one asking for MATZ penetration and two the dynamic planning of the route. It is only then that you appreciate Skydemon, still, it’s good to know I can do it if needed and I may practice this some more as it was a fun thing to do and a good skill to have.

Next up was the GST (General Skills Test) I did not have any issues with the stalls and recovery as they are all the same in principle as the GST for a 3 axis microlight.

So all that was left was the mound of paperwork which has been completed and is now “winging” its way to the CAA.

Last weekend I decided to have my first lesson in the club’s PA18-150 Super Cub, wow, this is fun to fly and puts a smile on your face, it’s also my first taildragger, steering it on the ground is “fun” but once in the air it is like flying the Microlight!

Super Cub
Super Cub

A Journey from Microlights to GA

Today saw possible the start of the next chapter of my flying, a Journey from Microlights to GA, every journey starts with a single step, or in this case flight, begins with a first flight in Cessna 172.

I travelled from my home near King’s Lynn to Rutland Sky flying school www.rutlandsky.com which took about an hour and 15 minutes, there I met my new flying instructor Stephen Waddy and the Cessna 172 I was to fly on my Journey from Microlights to GA.

I had previously thought that Chatteris is a little short on amenities compared to say Fenland and other airfields, but Shacklewell is even sparser! Still, this was made up for by the warm welcome afforded by the owner of the flying school Stephen.

The idea of this is to take advantage of the current 18 month window in which you can add SSEA (Simple Single Engine Aircraft) and then convert it to EASA LAPL via a paperwork exercise which lets you fly GA up to 2000 kg and a maximum of 3 passengers (search CAA CAP 804), which is the goal for my Journey from Microlights to GA

I can sum the difference up between the C42 and the Cessna 172 by liken it to driving a recent sports car and then switching back to an old Routemaster bus. Everything happens slower in the 172, that said it has more instrumentation, full IFR.

It’s a very different beast to control, the pedals have toe brakes which allow differential braking, the seat is adjustable, the high dash restricts the forward view, and the throttle is in the dash with a carb heat to the left and a mixture control to the right of it.

Stephen started her up and she rumbled a much lower note than the Rotax 912, we did the normal mag, and power checks and I taxied her out to the runway and then using the toe brakes and power I spun her around and lined up on runway 06, Stephen took the controls and we trundled down the runway, at 55 knots we lifted off a climbed away at 65 kts, once we were up to around 7,000ft we requested a traffic service, not something we tend to do in the microlight, but I think I might start doing this now.    After flying and turning for a while, which presented little issue, Stephen flew us into a cloud and showed me how to fly on the artificial horizon and turn coordinator then another cloud presented itself and it was my turn, something I always wanted to do! Next we went on to do some stalls from straight and level flight, these were the same as they are for the Microlight, so no issue there, however the stall is a lot less violent than in the Microlight,

Next up simulating a stall on the turn onto final, so flaps at 20 degrees mixture rich carb heat on and turn and stall! Nose down, power to full, oh wait I forgot the mixture and carb heat! Positive rate of climb, retract flaps to 10 degrees, positive rate of climb for the second time, flaps fully up and climb away. This one I was not so slick at, but it was my first time!

The hour was up and we were nearly back, on the approach Stephen once again took the controls and landed.

He left me with parting words which boosted my confidence on my Journey from Microlights to GA, saying “I don’t think it will take you as many hours as you think!”

I’m looking forward to my next lesson and blogging some more.