Strip Flying Skills Diploma, The most fun I have had with my clothes on!

As an FI(R) at Cambridgeshire Microlights school at Chatteris, I was looking for an additional challenge that would help me on my journey towards becoming an FI, the strip flying diploma seemed to fit the bill. It covers performance planning, which will become key when we move to 600Kg Microlights, theory, planning and practical flying, thus it ticked all my boxes. I spoke to the instructor who trained me originally Mike McLoughlin as he is listed as being able to teach the strip flying course, as is the CFI Katie Denham, Mike agreed to teach me and we put a date in the diary.

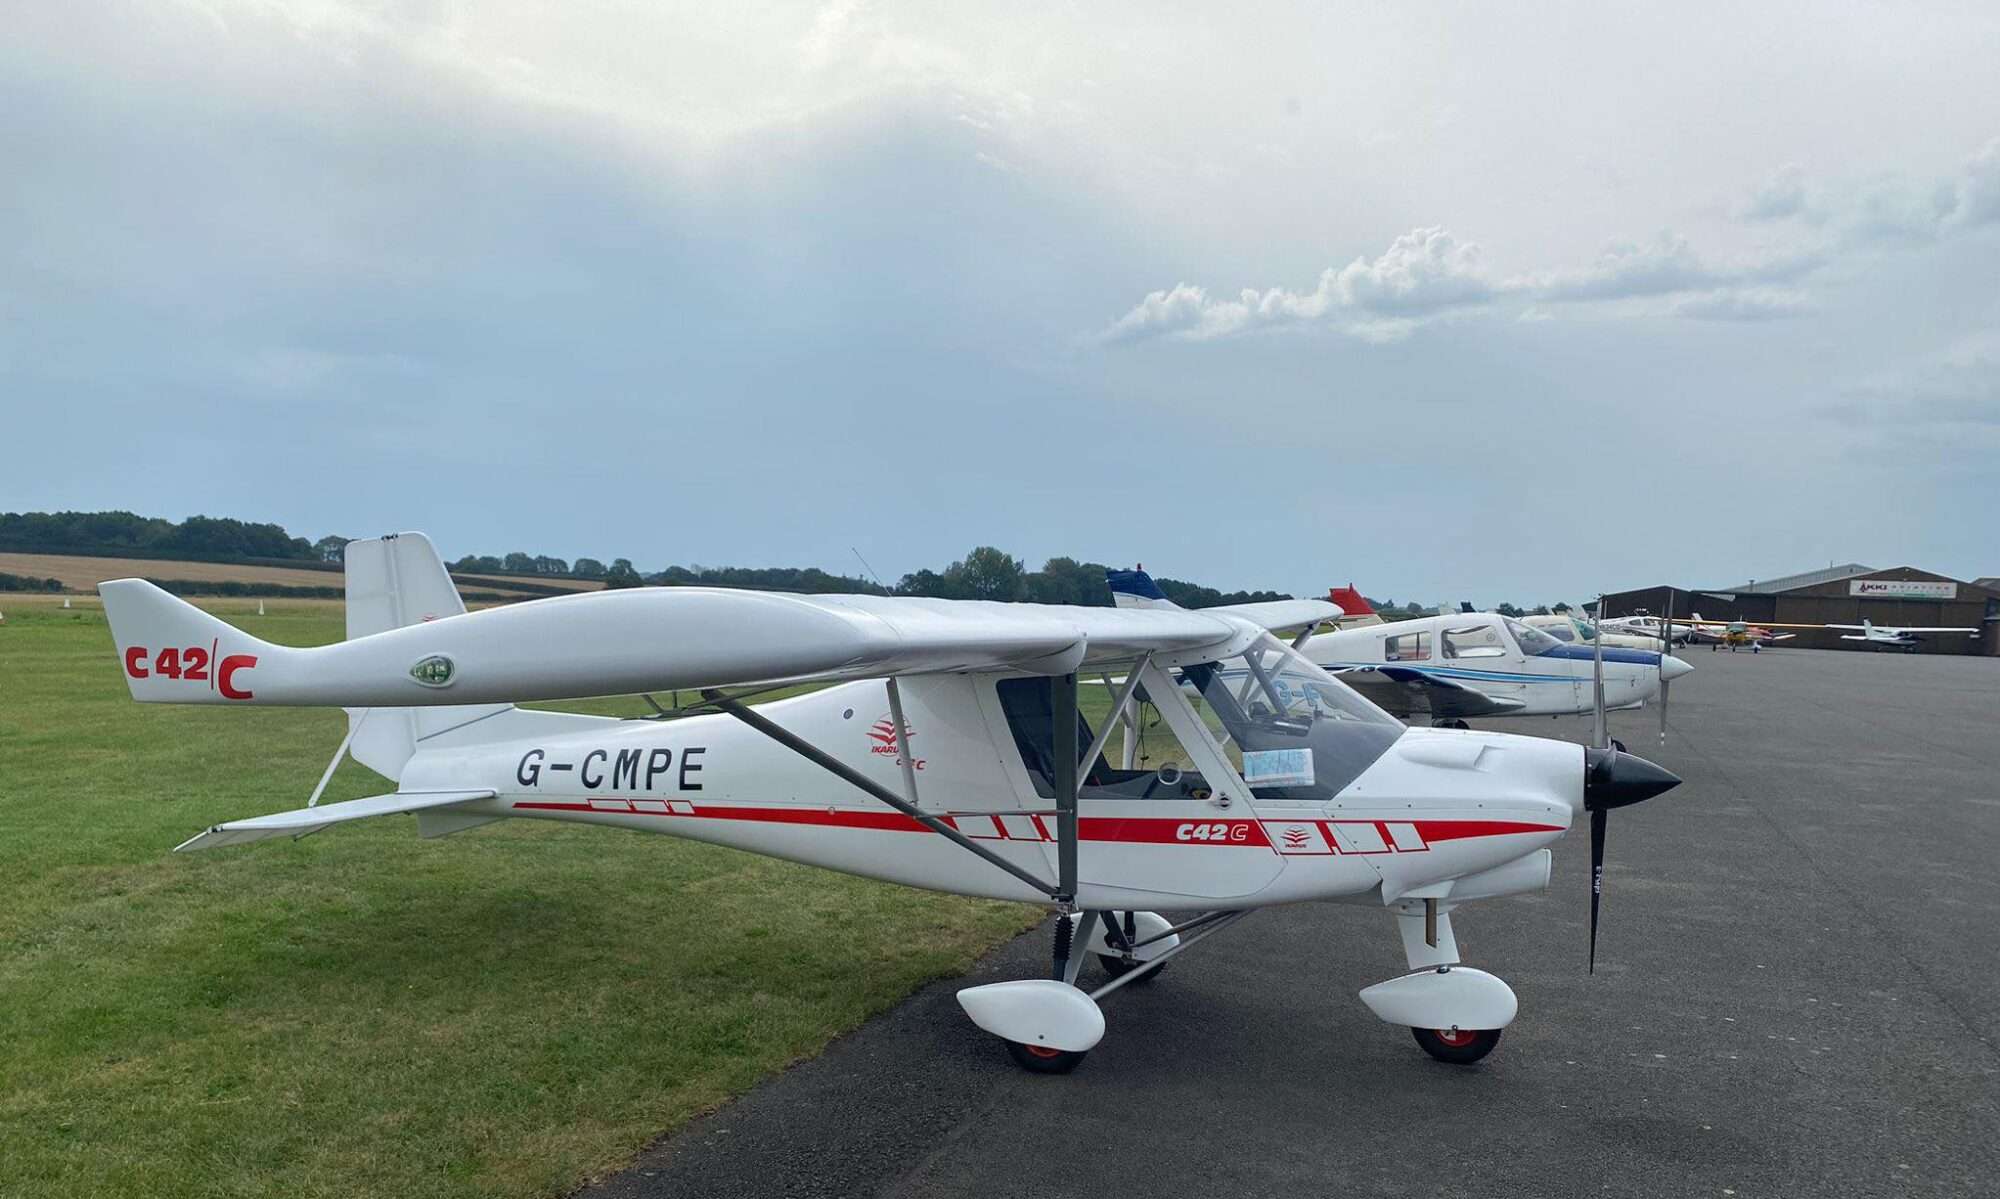
Before the first day of training, I was sent links to SafetySense leaflet 12, Strip flying and 7c, Aeroplane Performance to review. On the first day of training for the strip flying diploma, we reviewed these documents and then calculated the performance of the aircraft we were going to fly, an Ikarus C42A, we also covered the theory of short-field takeoff and landings before getting into the aircraft to see what we could achieve.

On the first flight, I flew an uninstructed short-field with Mike, this was to set the benchmark, it wasn’t too bad I thought, Mike gave me some pointers and tried again and I took some more distance off and so we kept refining it, I think by the end of the lesson I had taken around 50 or 60 meters off the landing. This, however, this was on a long runway, so was just an exercise on short-field takeoff and landing.

We planned to follow up in a few weeks to consolidate what I had learned and fly into a short strip or two, however a combination of bad weather, teaching commitments and then the Covid Lockdown meant it was many months before I could finish the diploma.

Taking strip flying to the next level

Finally, the opportunity came on a windy and gusty day in September, this gave the opportunity to test my skills in a crosswind too. We first flew a couple of circuits at my home field using what I had previously learnt, the runway there is 430m so plenty of room if it went wrong. Next, we flew to Wingland, a much shorter strip at 250m. The approach was quite turbulent but with no real obstructions, I managed to land the C42 in about 70m on the first attempt and then taxied in where we were met by two club members. They were very welcoming, making us coffee and offering biscuits too, they commented on how short the landing was and that many visitors use most of the runway, guess the training was paying off! After coffee we flew a few circuits with Mike pointing out improvements and tweaks.  A few more circuits at Wingland and I was getting down to a full stop in a little over 50m. Time for lunch,  so we flew to Fenland where you can always get good food and Ray on the radio does a great job too.

Wingland Strip Flying

Well Wingland was good, but a greater challenge laid ahead! Mike took me to a private farm strip and demonstrated the approach and the dangers of the field, little things like 132kV national grid pylons on the approach, 11kV wires on the go around, and final was through a gap in some trees, oh and the strip was a little shorter for good measure too. The amount of turbulence on the approach as we passed through the trees was concerning, but Mike’s mentoring and demonstration gave me confidence and it was soon my turn. We discussed the abort point if needed, however the short field takeoff saw us high above the 11kV wires long before we got to them.

Cross and downwind on the 500ft circuit were not an issue and then we turned parallel to the 33kV lines on the base leg, ensuring we didn’t get blown into them! I set up the approach and prepared to fly through the turbulence; again we were bounced around, but keeping calm and following Mike’s instruction we flew through it and I landed in about 50m. We sat and discussed the circuit flown and we went again, and again and again… each time adding more and more precision. I can’t tell you how much I enjoyed the challenge and with Mike’s instruction, and at no point did I feel unsafe.

Strip view Farm strip

I really cannot recommend this training course enough, no matter if you are recently qualified or have flown for a long time, this is a great course to push you to the next level.

A good camera angle even makes a 220m strip look long from the ground, but not so from the air!

Europa XS – The story of recovering a poor abandoned Europa part 2

We left the story with our elevators and rudder sadly in the Europa factory shut due to Covid19. Since then the factor has partially reopened and our parts repaired and collected. Refitting them was straight forward (unlike the wings!). Although the engine started and ran well, as it had been stood for such a long time we decided to have a 200hr service and a check done, although we could have done this ourselves we decided to have a professional in. We use Gary Masters of Airmasters for our C42 Rotax so it made sense to have him look over the Europa’s 912ULS engine, even though his travel costs significantly added to the overall costs. Prior to his arrival we drained the fuel and replaced with fresh mogas (ordinary unleaded fuel to you and me).

Gary arrived on a sunny day in May and remarked on the fact that the Europa was one of the better examples he had seen. He advised having the pipes changed, but added that they looked OK, but were of unknown age, we declined this at this time, but will do it ourselves in the near future. He also said that the mechanical fuel pump should be changed as it was over 5 years old, this we agreed with and he duly changed it. The oil was very clean as was the filter, cylinder compression was near perfect, next he checked the gascolators these too were in good order. service completed time to start the engine!

Gascolator

The engine started first time and ran smoothly, the oil temperature didn’t increase, this was put down to the cold day and no cowlings, however we later found the oil sender lead off!

Engine serviced we tried to refit the wings but could not line them up with just two of us as neither had done this before, we decided to leave the refitting until the LAA inspector and Europa expert Andy Draper visits to do the permit inspection and to teach us a bit about the Europa. Andy used to work at Europa and is seen to be one the experts on them, we would be in safe hands.

On the day of the inspection, a number of minor things were found and we were able to fix these as they were pointed out. All was progressing well until we got to the point of refitting the wings! we were missing a rigging aid, but this was not essential.  With both wings on we could not get the port wing retention pip pin in, no matter how we tried and how we tried! The wings were removed and the problem examined. The rigging cup on the port wing had fallen off previously and we glued this back in place using Araldite 420 as advised. The rigging cup could only fit in one place as it sat in a fibreglass seat. Unbeknown to us the cup was about 0.5mm out of alignment and with both wings aligned this was enough to stop the pin going through.

This was adjusted the following day and the wing refitted, after a period of jiggling the wings the pin went in, it was still tight but we got it in!

The wings were finally back on and our Europa looks like an aeroplane once more.

Andy is due back to complete the inspection and to test fly her for the permit in the near future, I will update you all on how it goes.

to be continued…

Changing from Neuform to Kiev Propeller on an Ikarus C42A 912UL (80hp)

This is a reflection of how I went about changing the propeller, it is not meant as a “how to” and no liability will be taken for any issue others may have by following this post!

We made the decision to change the original Neuform Propeller after noticing some hairline cracks across the back of the prop. This together with an accumulation of small chips meant it was highly unlikely to pass a factory inspection, thus the prudent thing to do was to change the prop. 

Neuform Props are very good, but expensive props, so we chose to replace them with a Kiev which at the time of writing was around £1,000 less.

The first stage is to remove the top cowling, we also later removed the bottom one too, to allow us to have a good look around at the same time. This proved to be a prudent thing to do as we found our radiator bracket was broken too!

Next, remove the spinner, a tip here which some may not know, is to hold the allen key bolt and undo the nyloc nut with the spanner, else you may start to round the allen key head.

NB: I found out the hard way, that you should mark the back of the spinner plate and the flange to ensure the spinner goes back on in the correct position!

Remove top cowling
Flange Bolt

Now we need to remove the old prop by undoing the six M8 retaining bolts. These are the long ones which screw through into the flange.

After these are removed the propeller will come off still clamped in the hub.

The prop with its adaptor plate is now removed.


Removing the lugs

Now for the  “fun” part, removing the lugs from the flange.

The lugs are used by both Neuform and Warp drive props, but not by Kiev props.

These lugs are press-fit and difficult to remove. First, spray them with AC50 and then have a cup of tea while this goes to work!

The best way we found to remove them safely is to use an M8 bolt through a 17mm socket, this acts as a puller and pulls the lugs back through the flange plate without damaging or shocking the gearbox.

Once they are almost through they will easily tap out.,


Fitting the new prop


First, lay the prop out and loosely clamp the prop blades in the hub. Ensure the key marks are aligned (see image) this is just tight enough to hold it all together, while we loosely bolt the prop onto the flange using the new adaptor. Note the new adaptor plate can only be purchased from TLAC  and was around £120.00 inc VAT.


The bolts to hold the prop on are 110mm long if you purchase the correct ones. However, using these bolts means they have 25mm of thread and about 12mm of this thread is within the flange plate holes. This is not good engineering practice and after checking with the BMAA they agreed. The solution is to buy the next size up (120mm) and cut them down by 10mm thus giving 15mm of thread which means you will have about 3 threads out of the Nyloc and much less thread within the flange.

The bolts we used are M8 grade 8.8, DIN 931 120mm, cut to 110mm.

Once the prop is mounted and all the bolts are in, but not tight, they should be loose enough to allow the blades to be turned within the hub, but tight enough to stop them moving to easily.

Now the pitch can be set. We have found mounting the pitch tool 48.5cm in from the tip on the inside of the mark and setting a pitch of 25 degrees gives the correct revs, 4,800 rpm on the ground. This TLAC confirmed to be the correct test that the prop is pitched correctly. 

Work your way around all the blades in turn setting the pitch.

Carefully do the bolts up working your way around the opposite bolts that clamp the blades first.  These should be done up to a torque of 15Nm. Now before doing up the main bolts recheck, loosen and adjust and tighten as needed the pitch for each blade. 

Lastly, do up the mounting bolts that go through the flange, do this progressively working across the opposites, these are torqued up to 25Nm,  then once again check the pitch and adjust the pitch if needed.

All that is left is to ground-run the aircraft. Check your static full power rpm is 4,800 rpm +/- 50 rpm, our brakes don’t hold at this power so we check that we get this during the takeoff.

The torque of all the bolts needs to be checked at 1hr, 25hrs and 50hrs after fitting the new prop.

I hope this will help others, even if it doesn’t it will serve as a reminder to myself if I have to do a third prop conversion!

Lastly, you will need a BMAA inspector to sign your change of information form.

CHANGE OF DATA FOR A BMAA AIRCRAFT 

The little things count too when doing a preflight check!

Today we planned to fly to Le Touquet, but the weather had other ideas! As we could not fly to Le Touquet we decided to try Sandown, Isle Of Wight.

We started by cancelling the flight plans filled via Skydemon and then we set off. Initially, the cloud base was around 800ft but, soon and as indicated, this opened up and we climbed to 2,000ft and then 3,000ft as it continued to improve.

The flight down apart from the claggy start was largely uneventful. We had been having issues with our Funke TRT800 transponder, it is intermittently not being seen by ATC and locking up, however on the flight down it behaved impeccably. The only issue we had on the way down was the landing, I touched down gently and then hit a bump and a gust of wind which saw us back in the air, but not by much. Next, another gust just as we were touching down and 90 degrees to the runway saw our right wing lift. I caught this on the stick and controlled it with the aileron. I was wondering if I could have done better as I watched Colin land behind us in his C42 and saw him have the same issue, it was like watching an action replay however, this time the gust had taken him far to the left of the runway.

Approaching IoW overhead Portsmouth

The journey home, however, was much more eventful!

Funke TRT800
Tape causing the issue

First, the Transponder didn’t seem to be working, so we called Fanbourgh Information and asked for a transponder check, we tried Ident and they could not locate us, we tried another squawk but, we could not change it, so we need to send it back to Funke for a service repair.

About 40 mins from Chatteris we heard a loud ripping sound, it was like someone ripping velcro apart in our ear! followed by a humming sound! we looked at each other in disbelief, the aircraft was still flying and the controls responding normally. The humming stopped and all seemed normal so we decided to continue, and then another loud ripping sound more humming and heavy vibration through the stick and pedals!

What could this be? what should we do?

We looked for an alternative and near airfield, our best option was Old Warden so we head towards it, then as suddenly as it started, it stopped, we continued towards Old Warden with no further occurrence of the issues.

What could it be? Our best guess was that the velcro fastening between the wing and the aileron may have separated and the noise and vibration were due to the resulting airflow between them.

On to Chatteris and 10 miles out we heard Skydive One (the parachute plane) called it was taking off, wanting to get straight in we called Skydive one and advised them of our situation and they delayed the drop until we had landed. On final we put the first stage of the flap on, as the aircraft’s pitch changed the vibration and humming returned, we decided not to put the second stage on. After landing we inspected the aircraft looking closely at the ailerons and the skins, nothing! Then we spotted the windscreen tape had lifted in the middle of the vertical section, could this have been the issue? it would make sense re the ripping sound, but what about the humming and vibrations? we reasoned that the humming could also be due to this and possible the vibrations too if it was disturbing the airflow. The tape was removed and we took her up for a test flight and to our surprise, the issue was solved!

This reminded me of Rob Mott’s article in Microlight flying magazine where he talks about knowing your aircraft and not to panic if you have an issue. We knew the aircraft was still flying, we knew it was responding normally to all control inputs so we minimised the issue by flying conservatively and landing at Chatteris as soon as possible.

Little things like the edge of the tape lifting are important to check on a pre-flight check as well as the major items!. 

Should we have performed a precautionary landing?

We could have put her down in a field or at Old Warden, but she seemed to be flying OK and what damage might have been done during the landing? Old Warden is PPR and was NOTAM’d for model flying.

There has been some discussion if we were right to have continued flying or not. What is your view?